 The picture on the right shows our editing suite that we used throughout the making of our music video:
My Individual Contributions:
- I helped cut together the whole video include chorus shots and also my own individual section
- I helped grade and colour-correct the video
- I helped research striking effects and recreate them in our own music video.
The Process:
- Firstly, we cut the basic sequence of the music video using the timeline as shown below:
- After the timeline of all the shots were arranged, we moved onto focusing on grading our shots in order to make them look a bit more professional and cinematic by using a tool called ProcAmp.
ProCamp allowed us to adjust things like the brightness, contrast and saturation of certain shots. There was also the Three-Way Colour Corrector where you could balance colours out. For example, if the shot looked a bit blue-ish or cold, it allowed us to add a warm tone to contrast this colour and balance it out. This was also an easy yet time-consuming process.
Above is a video showing the grading process of the video and also the difference it made to the shots.
We also used the ProcAmp tool to add flashes to certain shots in order to add more excitement to the shots. We achieved this by putting the contrast down and the brightness up.
- After all the grading was done and all the flashes added in, we moved onto focusing on adding striking visual effects in the post-production stage in order to grab the audiences attention and maintain it throughout the video.
 We used the motion tool in order to change the positioning of the shots in order to create a cool layered effect. We copied the shot onto multiple video tracks and changed each positioning slightly to achieve this effect.
The horizontal flip tool was used to create a distorted effect and was also used to quicken the pace of the music video.
After Feedback:
After our first initial edit was fully complete, we asked our media teachers for some feedback on what they thought of the whole video. They were really impressed with it but one of their criticisms was that maybe during the chorus, instead of just having the dance sequence, they suggested that we intercut between some other shots in order to create variation and keep the video flowing nicely.
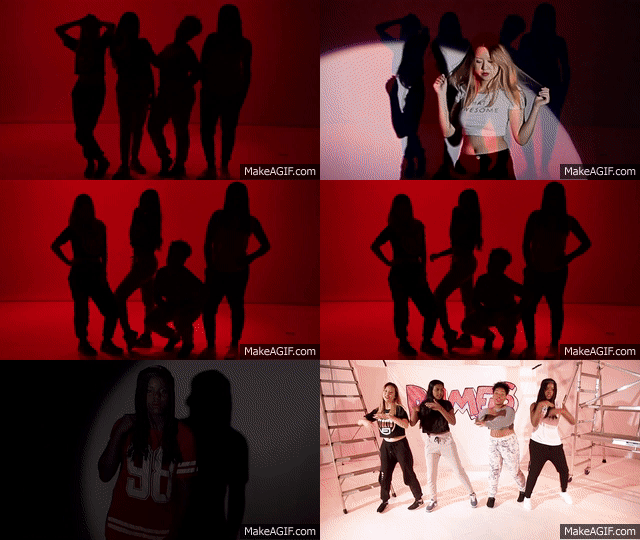
After listening to this we altered our chorus shots to include a larger variety of shots, an example of which I have shown below:


No comments:
Post a Comment